October 16, 2020 Quarantine Activities For Kids
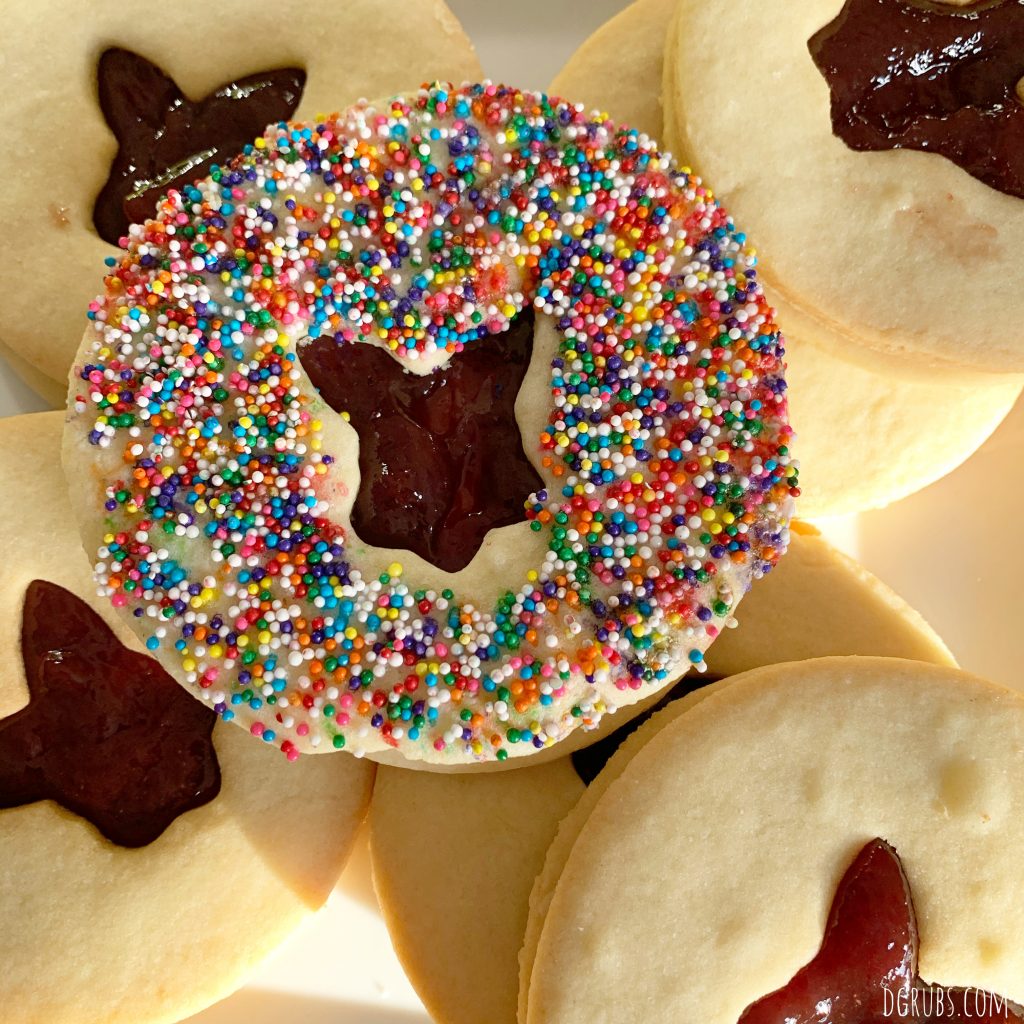
We are how many months into this quarantine and I’m sure that like me, you are struggling for new things to do with your kids. I don’t know about you, but those rainy days kill us – we are trapped inside of the house with no way to burn off that excess energy. We do a LOT of baking in our house. I love that a lot of bakeries are giving out recipes for their beloved treats, so when SusieCakes put out the recipe for their sweetheart sandwich cookies, we jumped at the chance to make them. While the original recipe calls for buttercream in the middle of the two cookies, we opted for jam – we made so much home made jam this year! We used these cute bunny cookie cutters for the inside, but you could use whatever you have on hand. You can find the recipe here.
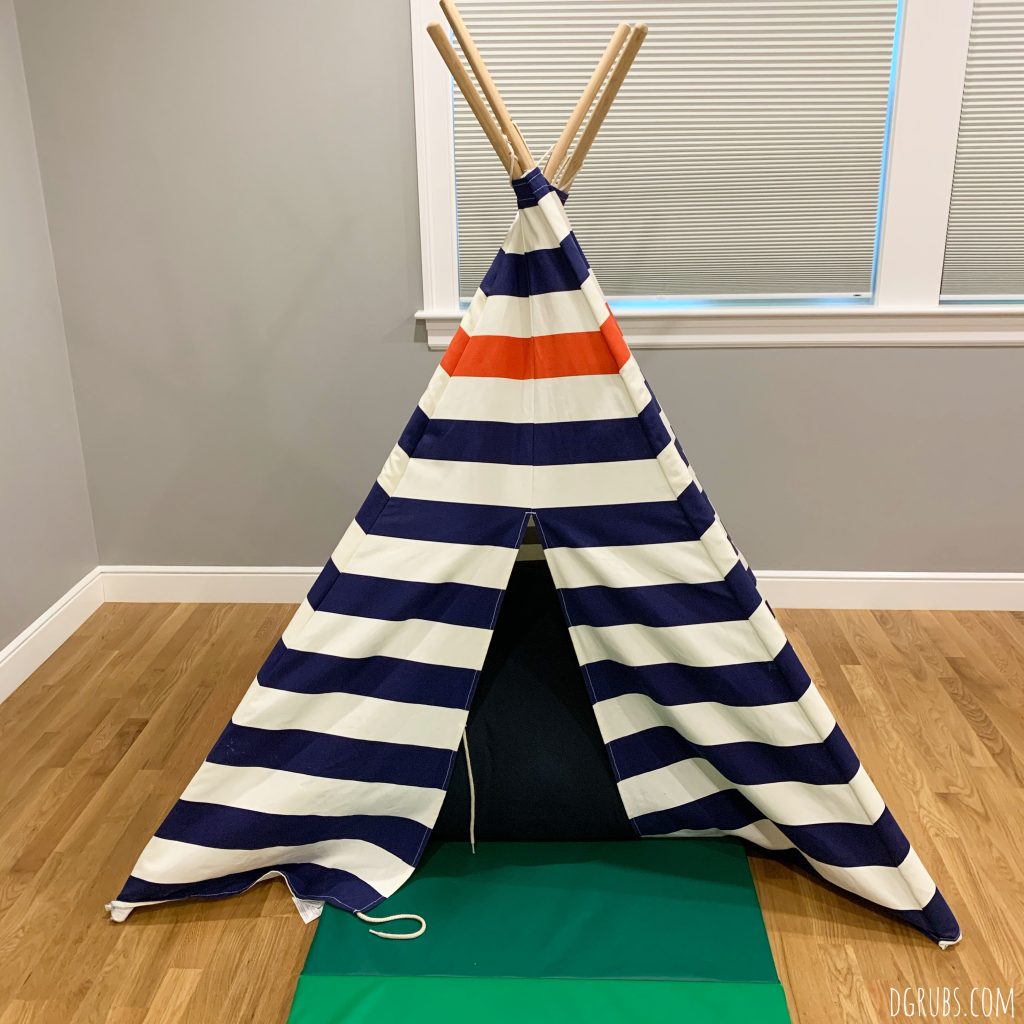
With more than one kid at home, there are bound to be arguments. Sometimes we need to go to our own corners – here’s where those forts come in handy! We happen to have these teepees at our house, but you could easily construct a fort with pillow cushions and sheets or blankets. We string up some holiday lights on ours and my kiddos love to go in there are hide from one another or read books.
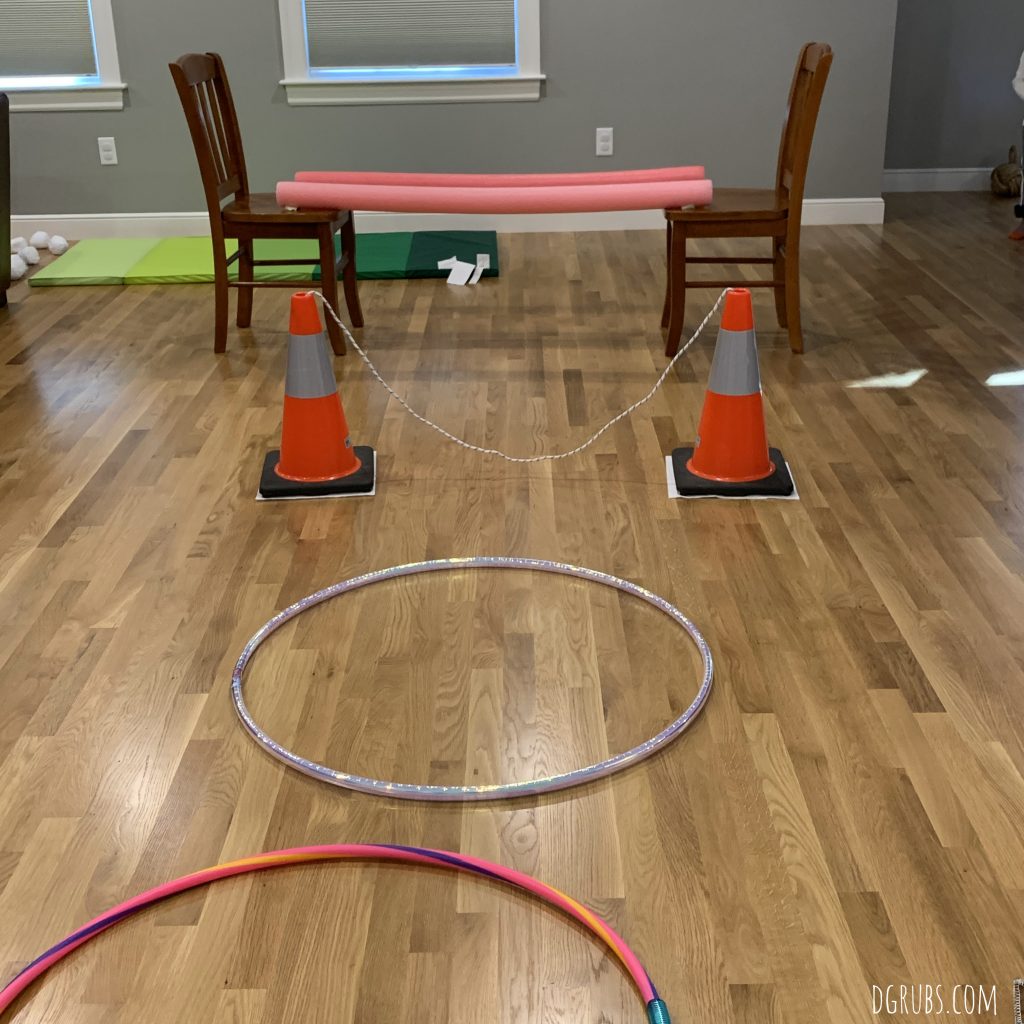
Another idea if you are stuck inside is to make an indoor obstacle course using things that you already own. We brought in hula hoops so the kids could hop from one to the next, we practiced jumping over the jump rope on one leg and on two, crawling under the pool noodles, doing forward rolls on the gym mat, and practicing throwing fake snowballs into a bucket. Or maybe just use found objects on the floor and pretend the floor is lava and you can only step on the objects you’ve set out (but be careful they don’t slip).
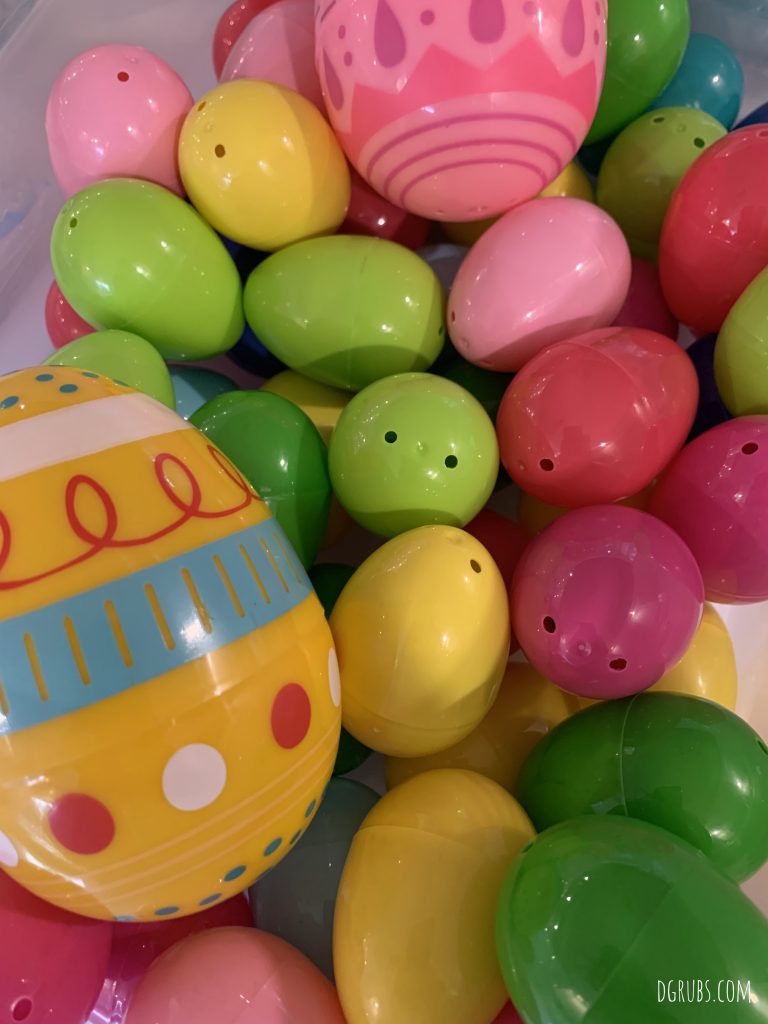
I don’t know about you, but we have a TON of Easter eggs in our basement. I filled ours up with loose change and hid them around the house. Not only did the kids go crazy having fun looking for the eggs, but afterwards, we emptied the eggs and sorted the coins. After sorting, we counted and rolled them so we can deposit them into the bank. This is a great independent activity, guaranteed to give you at least 30 minutes of peace and quiet to yourself.
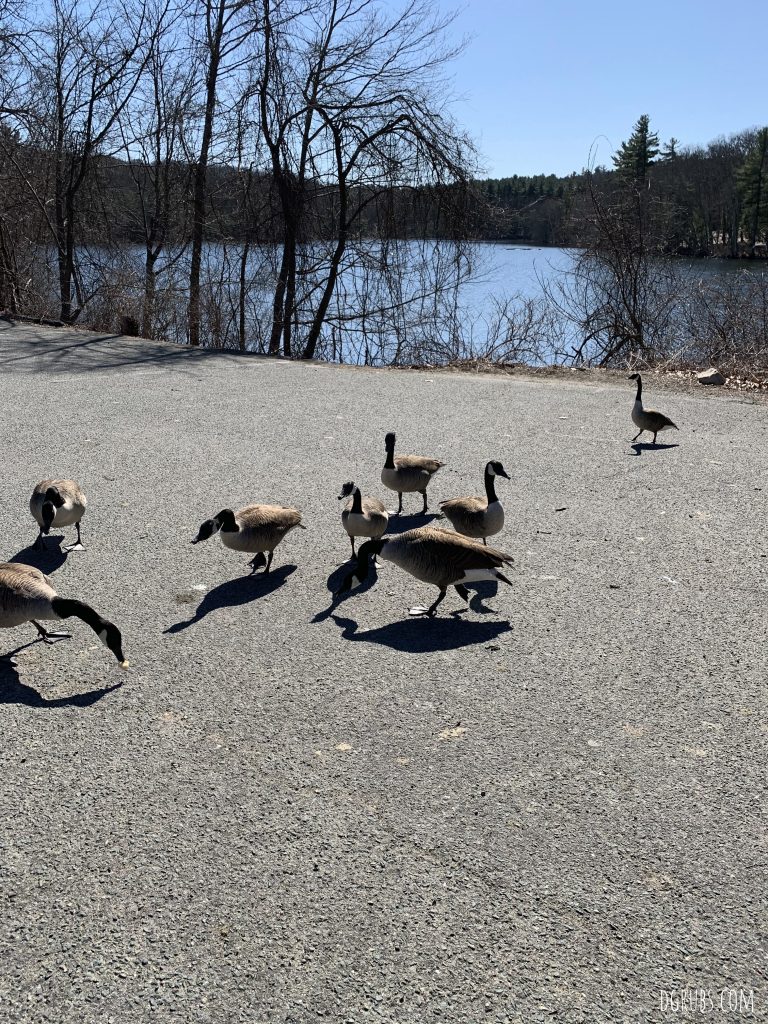
If the weather is nice, go outside and find a place where you can feed the ducks – or in our case, there were just a lot of Canadian Geese and sea gulls, but hey, the kids were amused for 30 minutes! If we have left over bread we just throw the pieces in the freezer and take them all out when we have enough to feed the birds – sometimes though, we make croutons).
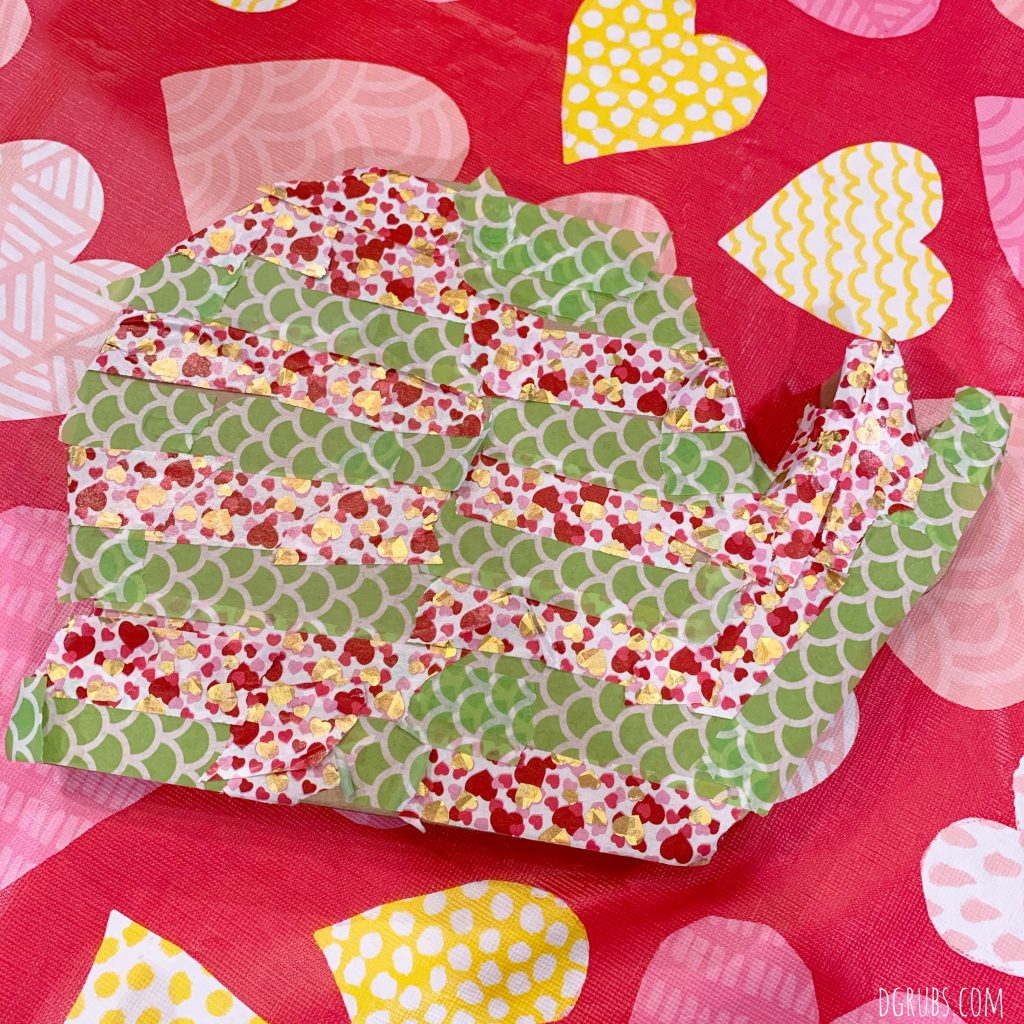
Sometimes I just don’t want to deal with the hassle of markers. My kids end up with marker in places you have no idea how they even could have gotten here. We always have some fun cardboard shapes on hand (we picked these up at the dollar section at Target) and I let my kids go wild with washi tape.
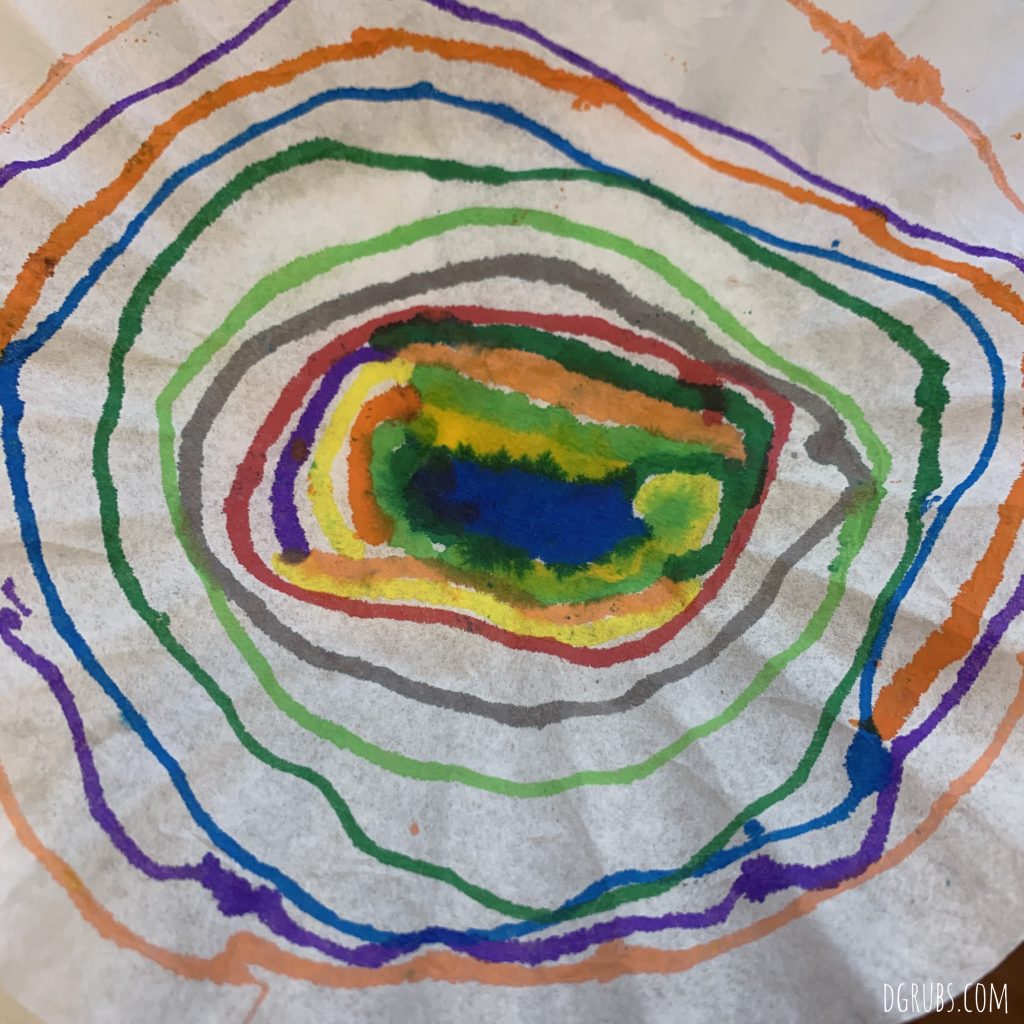
Coffee filters can be used for so many things. You can have the kids color on them with markers and then dip them in water (or spray with spray bottle full of water) and let the colors bleed into one another.
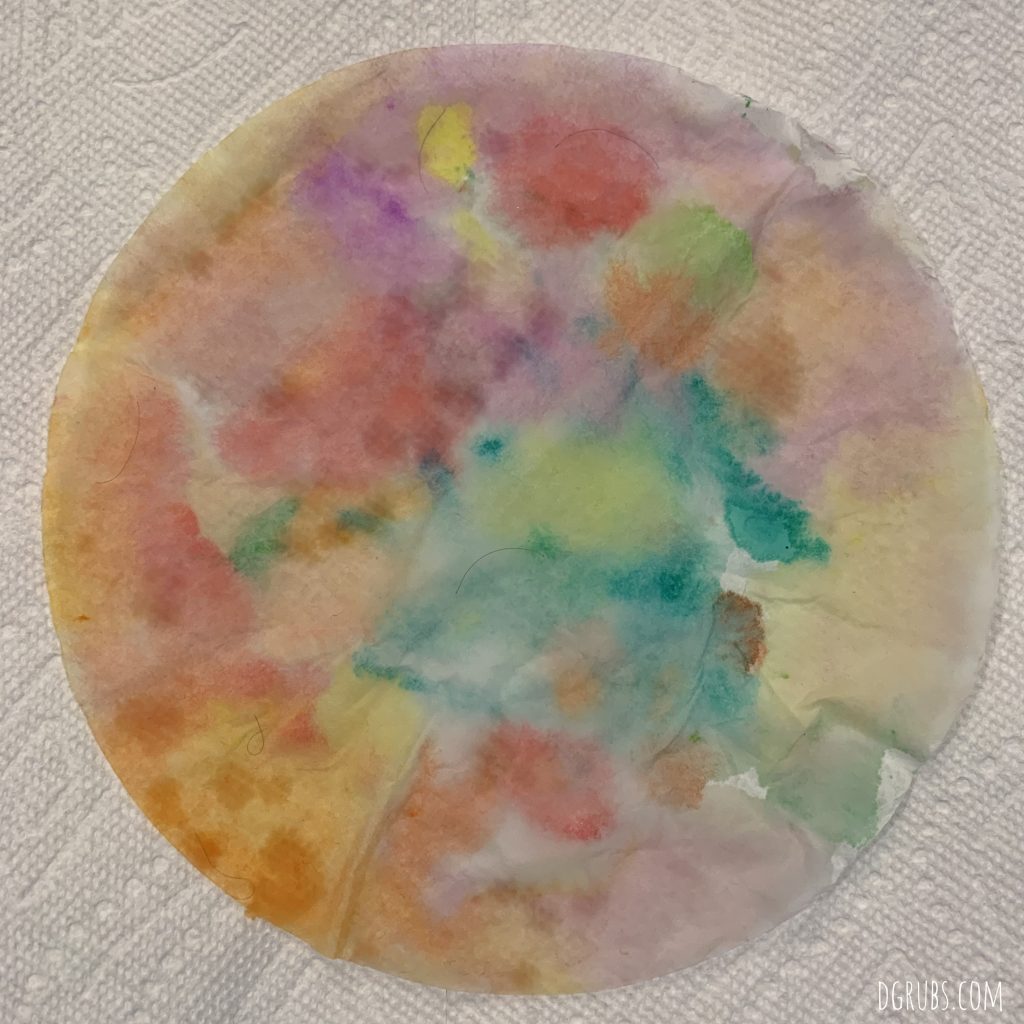
Another option of how to color coffee filters is to use water colors on them. Makes sure to put a paper towel under them so the colors don’t bleed onto your work surface.
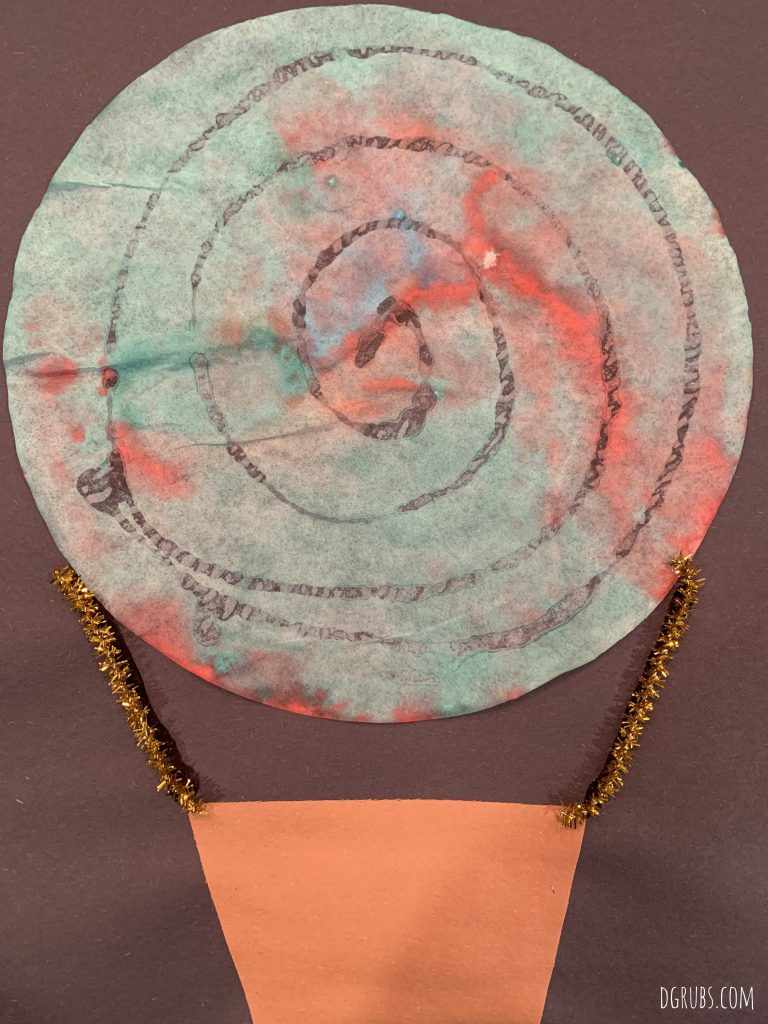
We used some of our coffee filters to make these fun hot air balloons! All you need besides the colored coffee filters are some pipe cleaners and construction paper.
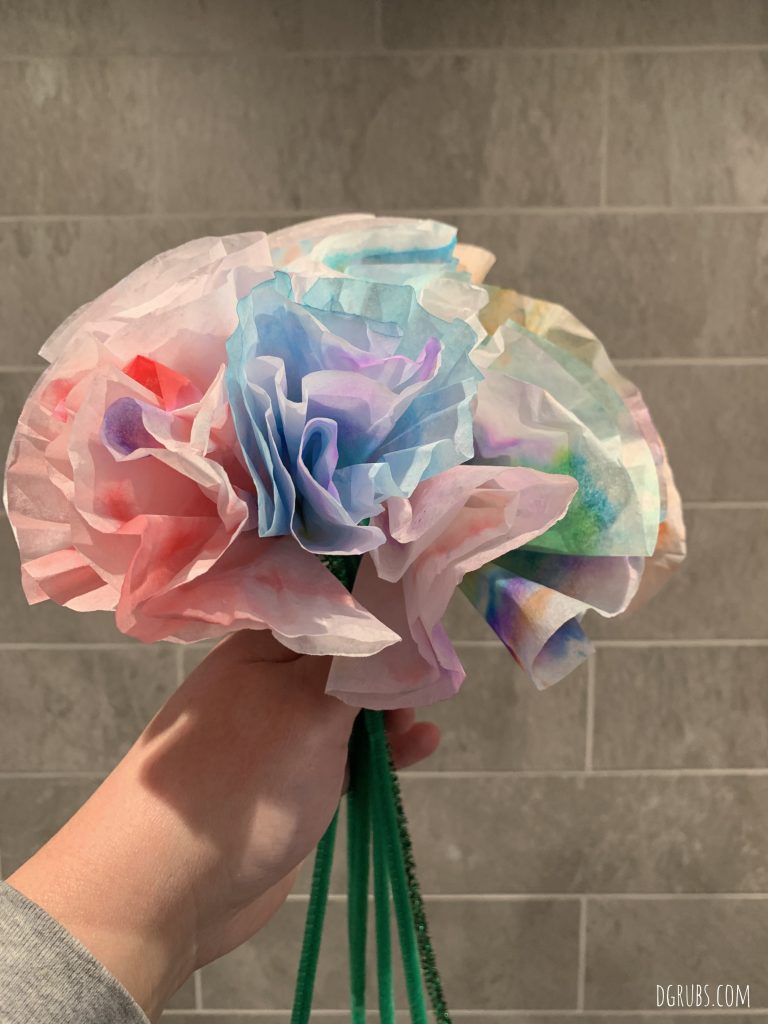
Another project we used the coffee filters for were these fun flowers. Grab the coffee filters in the middle and scrunch the filters up. Do this three or four times and then secure the bottoms with a pipe cleaner.
You could also use the colored coffee filters to make fun butterflies.
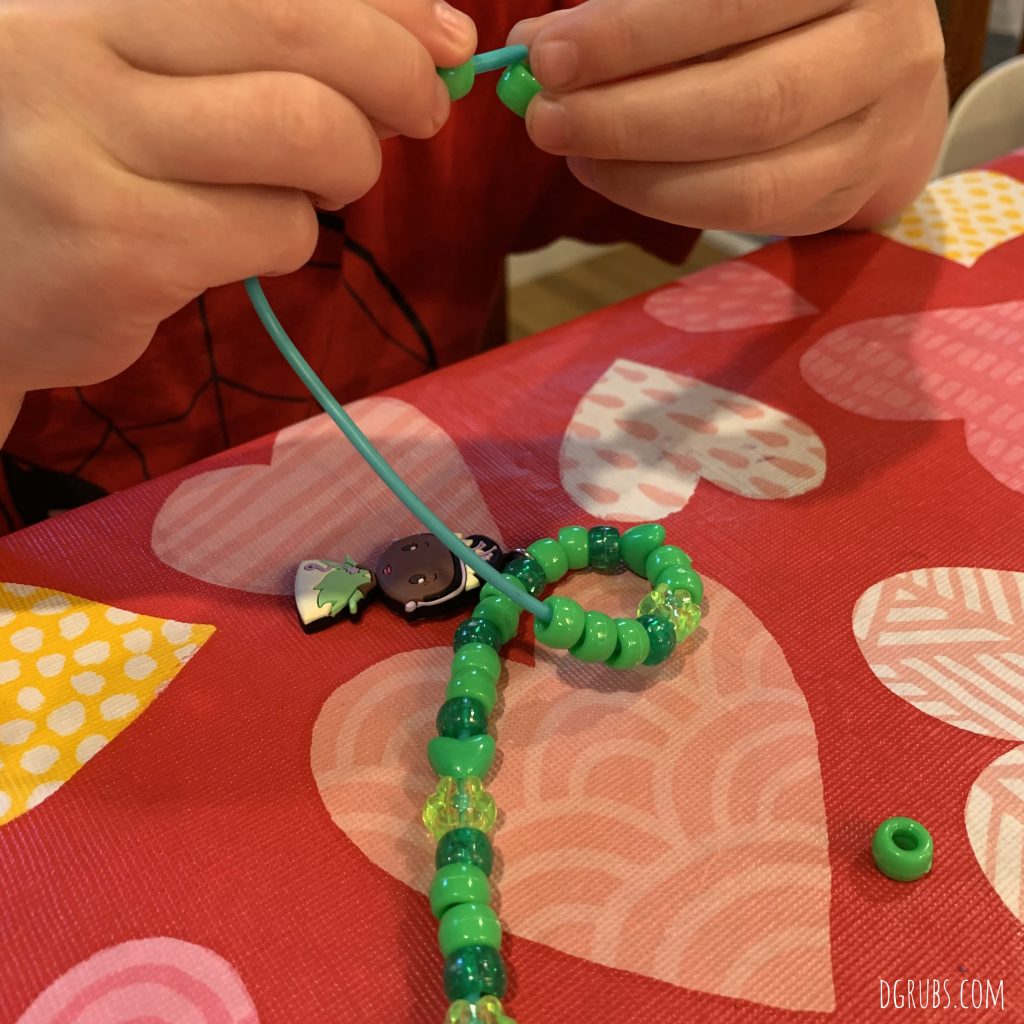
We love to bead in our house. Great for small muscle control and hand eye coordination. If you are cutting your own string, you can tape off the end to make it easier to thread the beads.
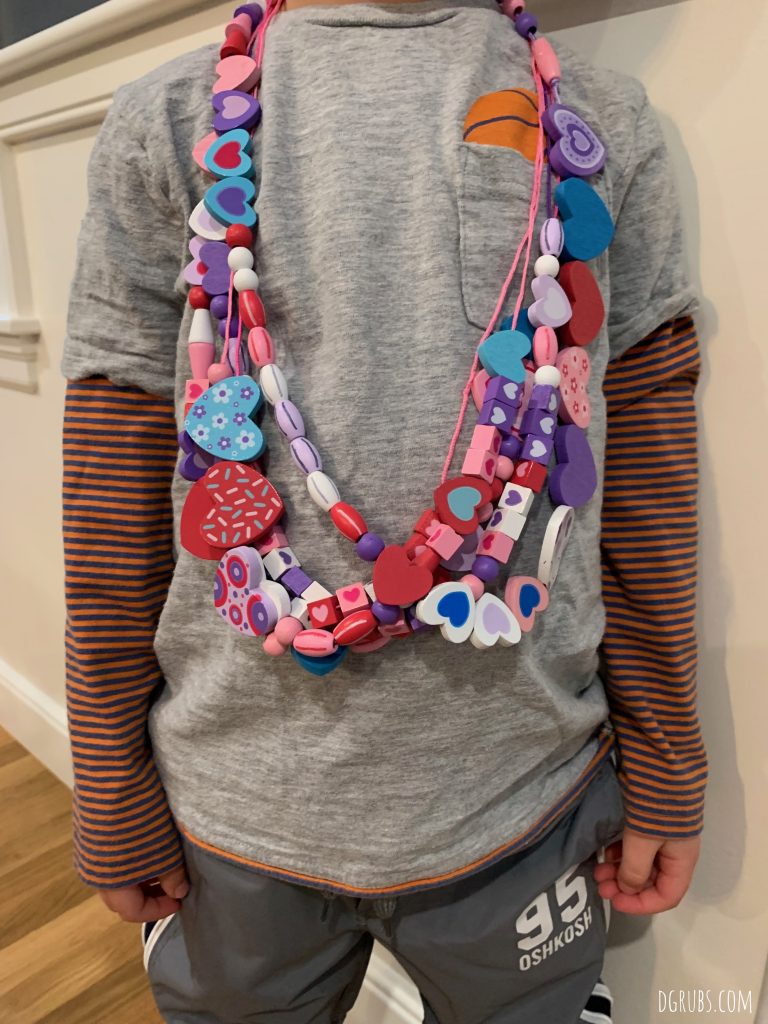
See what patterns your kids can make: can you make a necklace with all round beads, or all pink beads. Write out a pattern on a piece of paper and see if they can follow it: heart, square, heart, square or, perhaps round, round, square, round, round, square, etc.
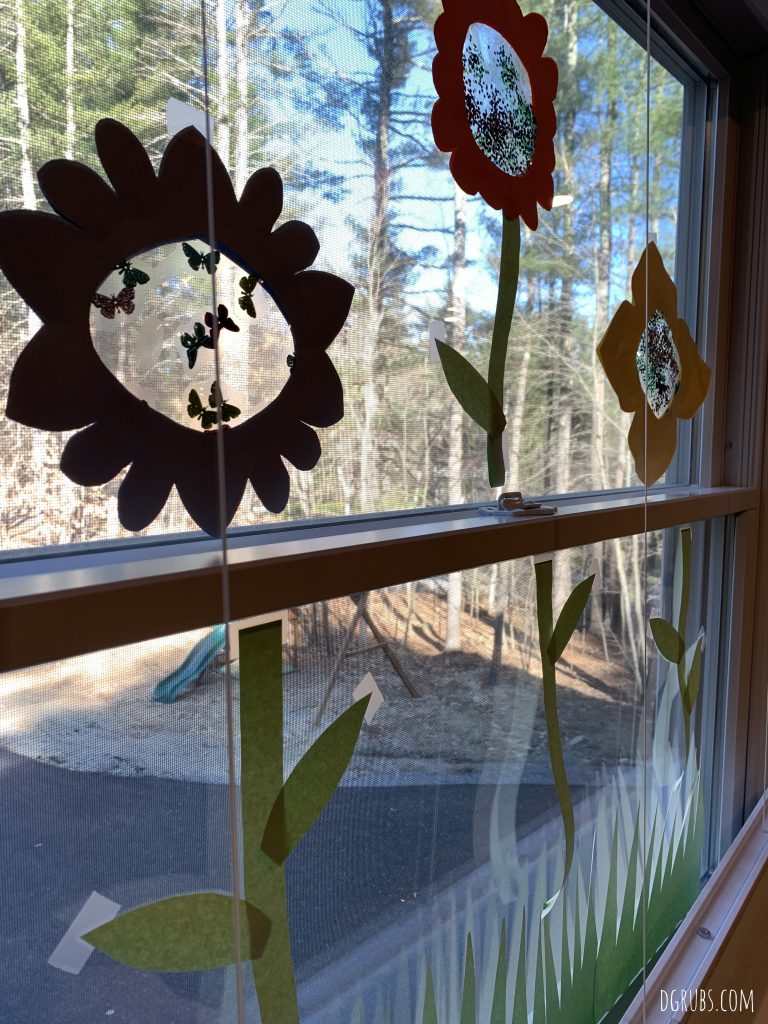
We have a few large windows in the front of our house, and every month or so, we like to change things up. Everyone in our neighborhood compliments us on them and they can’t wait to see what we are going to do next. This one was a flower scene: we used contact paper with glitter for the centers of the flower and then construction paper for the rest. Use your imagination!
Other displays included a rainbow made from all hearts, and an underwater scene with fish, whales, and even an octopus!
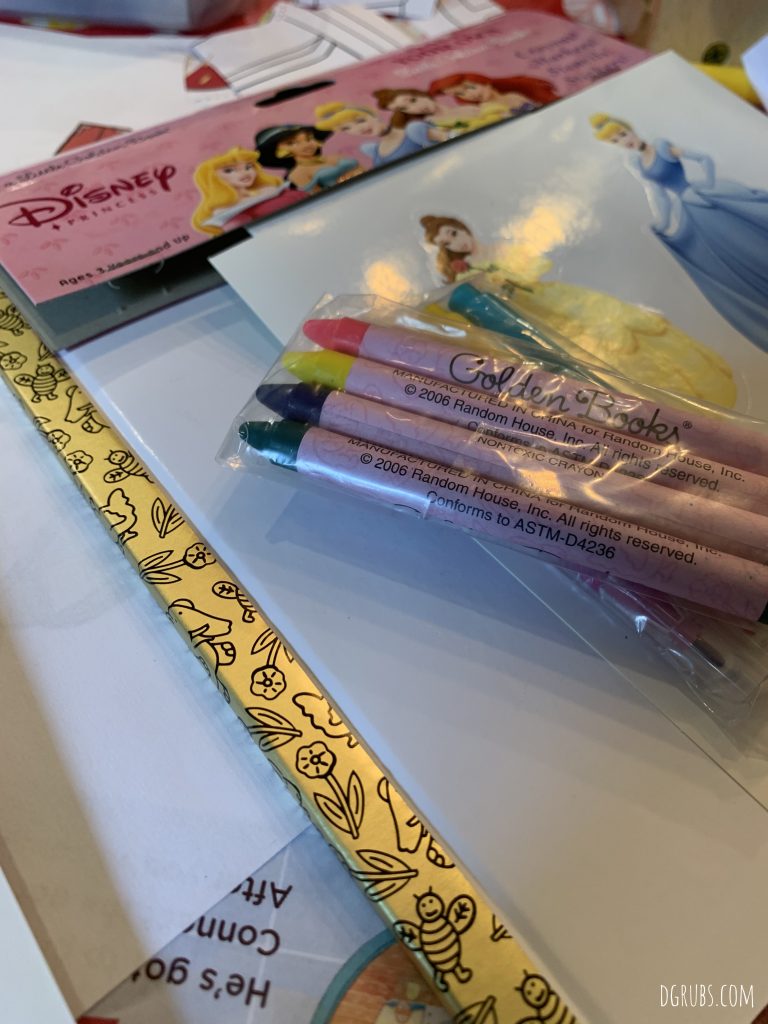
Have your kids use their imagination and write a book! We got this “Make Your Own Little Golden Book” as a gift, but you could certainly just fold up some white paper in half and you’re good to go.
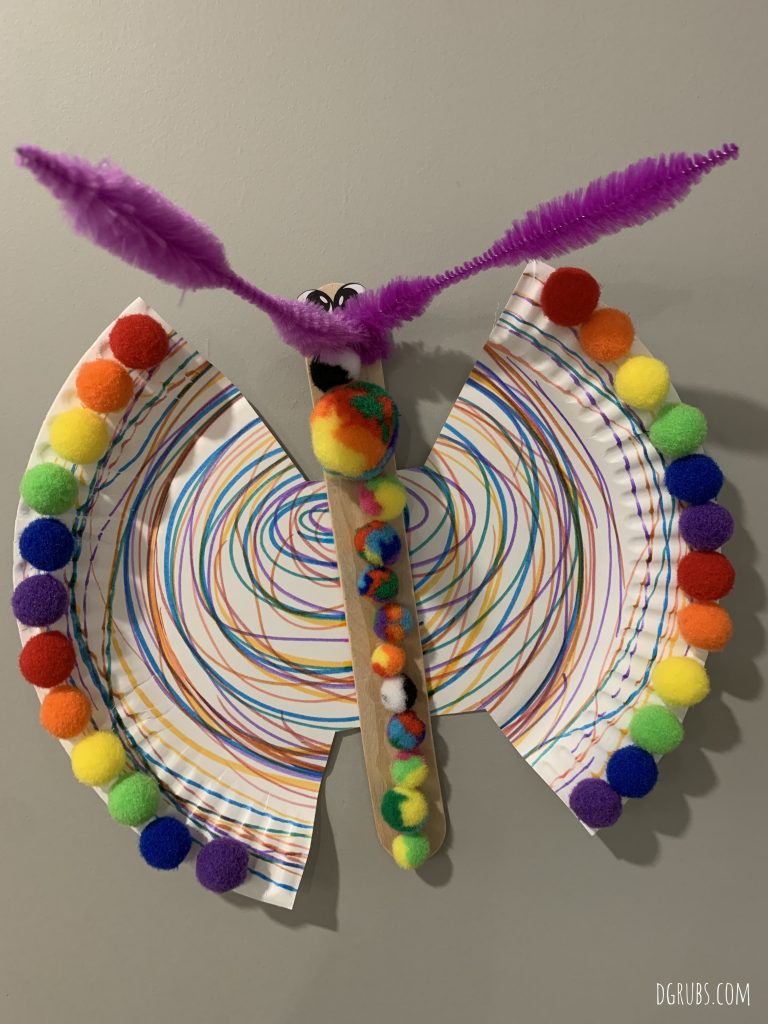
Paper plates are something we try and craft with in our house. Relatively inexpensive and you can make about a million different animals with them. We colored our plates and cut the plate to look like butterfly wings. Throw in a popsicle stick covered in pompoms and antennae made with a pipe cleaner and you are good to go.
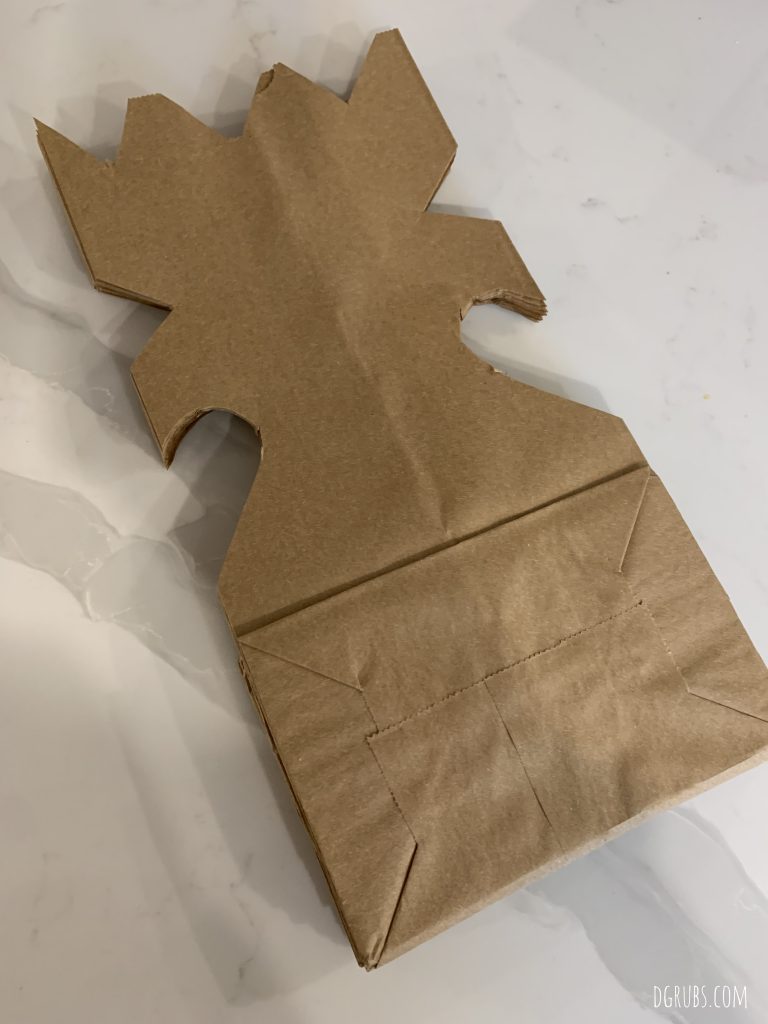
I can’t remember where we saw the inspiration for these, but my kids loved making them. Get about 12 or so brown paper lunch bags. Glue them all in the same direction two or three at a time – this will make the cutting of the patter easier. After you cut your first two or three bags that have been glued together, add another two or three and repeat cutting out the pattern.
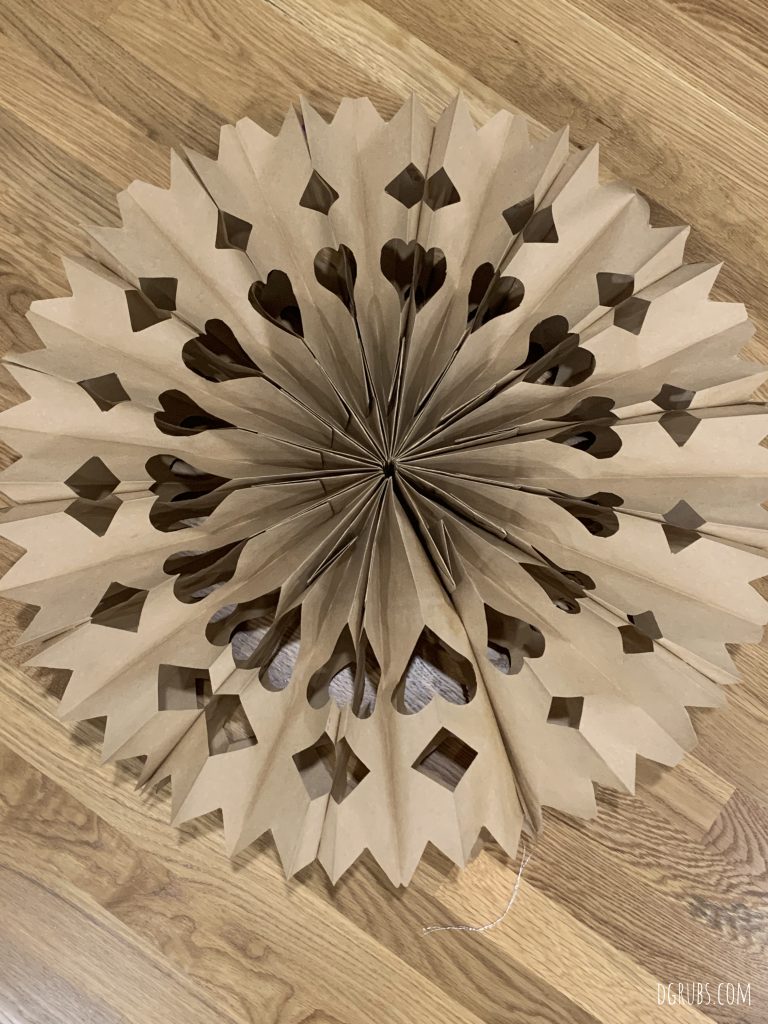
After you have all the bags glued together, take the first bag and glue it to the last bag and viola! you have a beautiful snowflake!
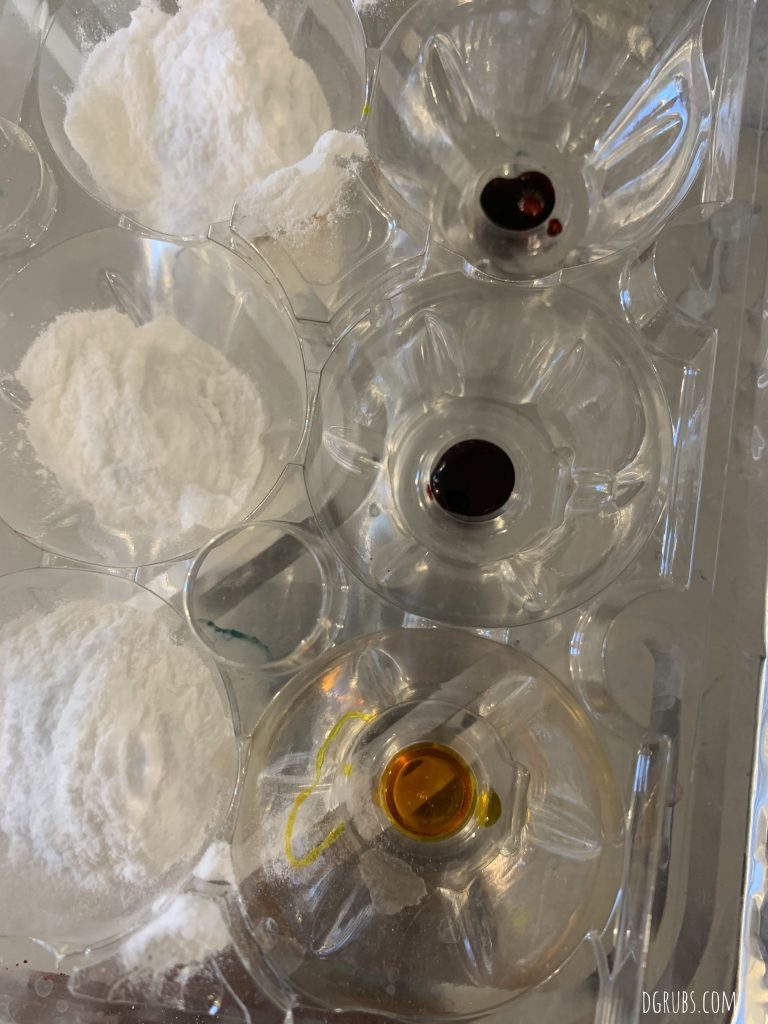
My kids LOVE science experiments, the messier the better (for them). One simple one is the reaction of baking soda and vinegar. We keep a bunch of these plastic egg cartons on hand (they are perfect for painting) – so just add a few drops of food coloring on the bottom of each space. Cover with baking soda. My kids like to guess what color each one will make!
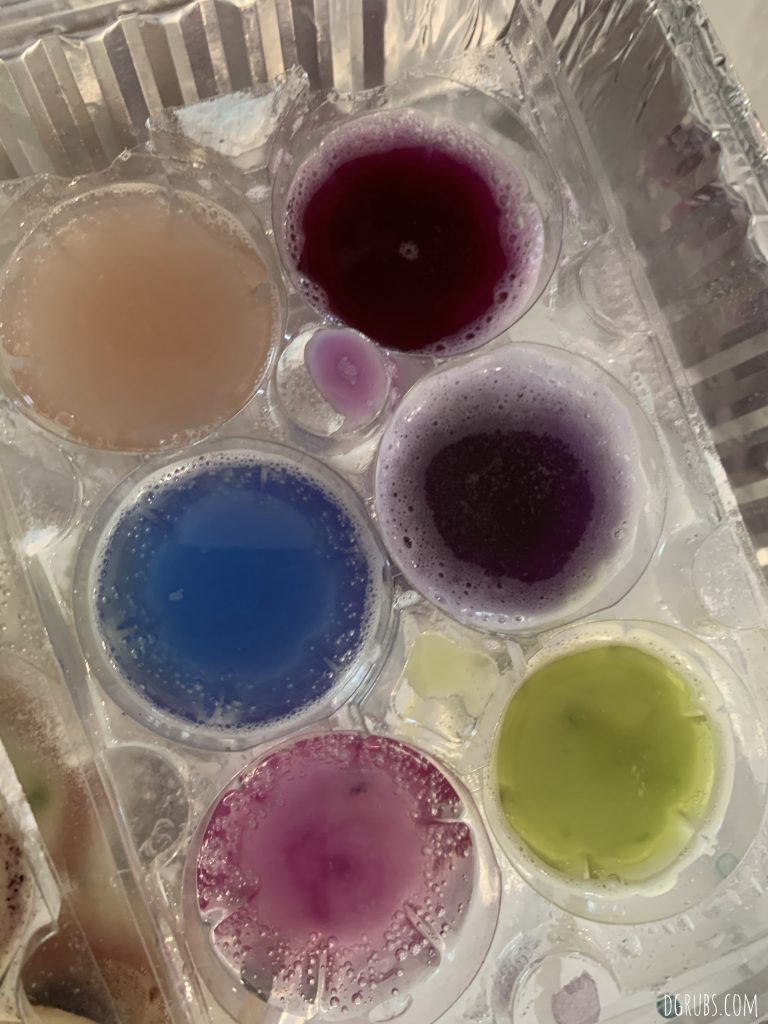
Have the kids pour the vinegar on top of the baking soda and watch the colors bubble up! Or if you have droppers, those are certainly a good way to help with those fine muscle control skills!
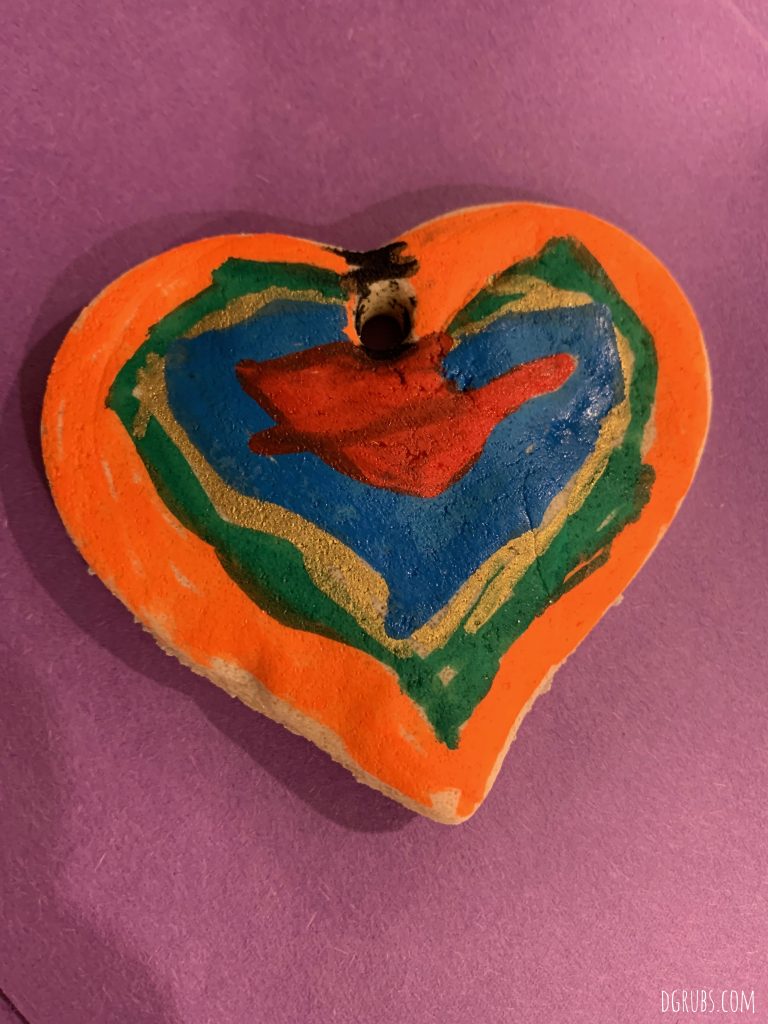
Salt dough is super easy yo make, it’s just three ingredients: flour, salt and water. You can find the recipe here. Roll out the dough and cut them into fun shapes with cookie cutters. Cook for about 2 hours and let completely cool. We used paint markers, but really, any paint will do. If you want to give them an extended life, spray them with something like Modge Podge Sealer.
We took it one step further and made ornaments for friends. We placed them on their trees during the day so they could have a scavenger hunt for them later.
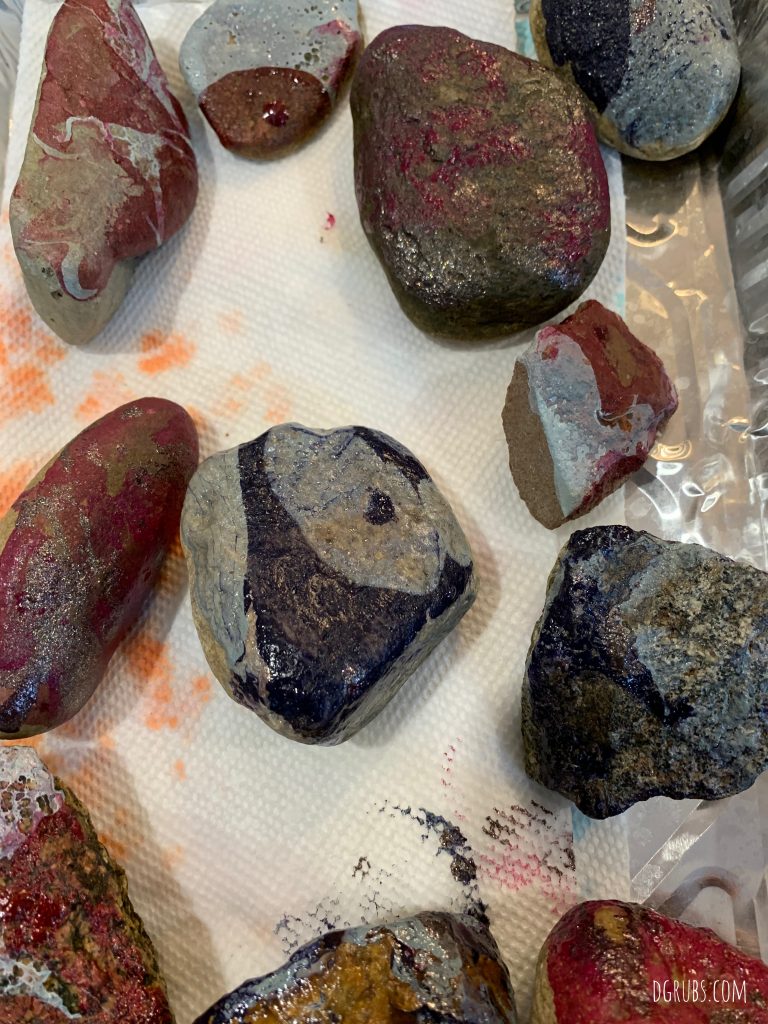
I’m not going to lie, this one is a little messy. We made nail polish rocks. Fill up a shallow pan with warm water. Pour in your choice of nail polish and quickly dip your rock (or object of choice) into the liquid – pull out immediately and place on a wax paper lined sheet pan.
You should be good for two dips, but after that, take a chopstick or something similar and swirl it around the water to collect the used nail polish and wipe on a paper towel to discard. Begin again with new polish. We found that flat, light colored (well white is the best) rocks were the best. Again, if you want them to last longer if you are placing them outside, use a sealer like Modge Podge on them.
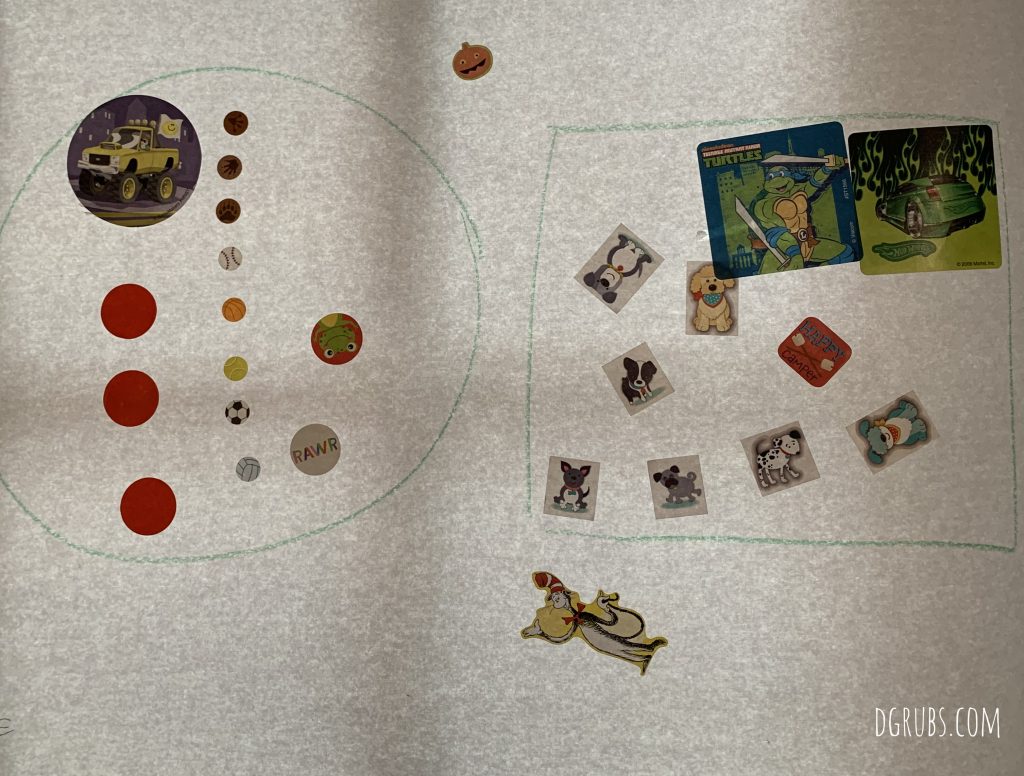
We all have about a bazillion extra stickers at home. If you need 5 minutes of quiet time, get out a large piece of paper and, for example, draw a circle and a square on it. Have your kids place the square stickers in the square shape and the circle stickers in the circle. All other stickers that are not circles or squares can go in the blank space left on the paper.
And when all else fails, have them do some printables. Here are some of our favorites:
http://www.littlegoldenbooks.com/activities/
https://www.joshfunkbooks.com/stuff-for-kids
- Leave a comment
- Posted under Events
Leave a Reply